Anyway I can use this to continue building. Down the road I have the option to rebuild this engine or find a better one. To be determined. . .
Thursday, December 31, 2020
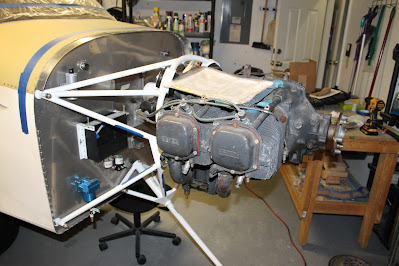
Mounting Engine
OK, OK,OK, this isn't the actual engine. I have picked up an engine core (completely run out, not running engine) to use to continue the build process. Engine is an O-320-D3J from a Piper Archer. This is kind of an advantage is some ways. If I were to buy a new engine now, it would sit around until I finish the build. Airplane engines do not like to sit around. I can only imagine what is going on inside this run out engine.
Sunday, July 19, 2020
Wheel Fairings
The gear and wheel fairings as said to increase the top speed by 12 MPH. The kit does contain a great shape to get started with. I start out with some trimming the gear leg fairings to remove excess material to make them fit properly.
Fitting to the wheels
Used laser levels to create a grid aligned to the center line which made the line up a snap.
Mocking up the intersection fairings.
Next the wheel pants them selves.
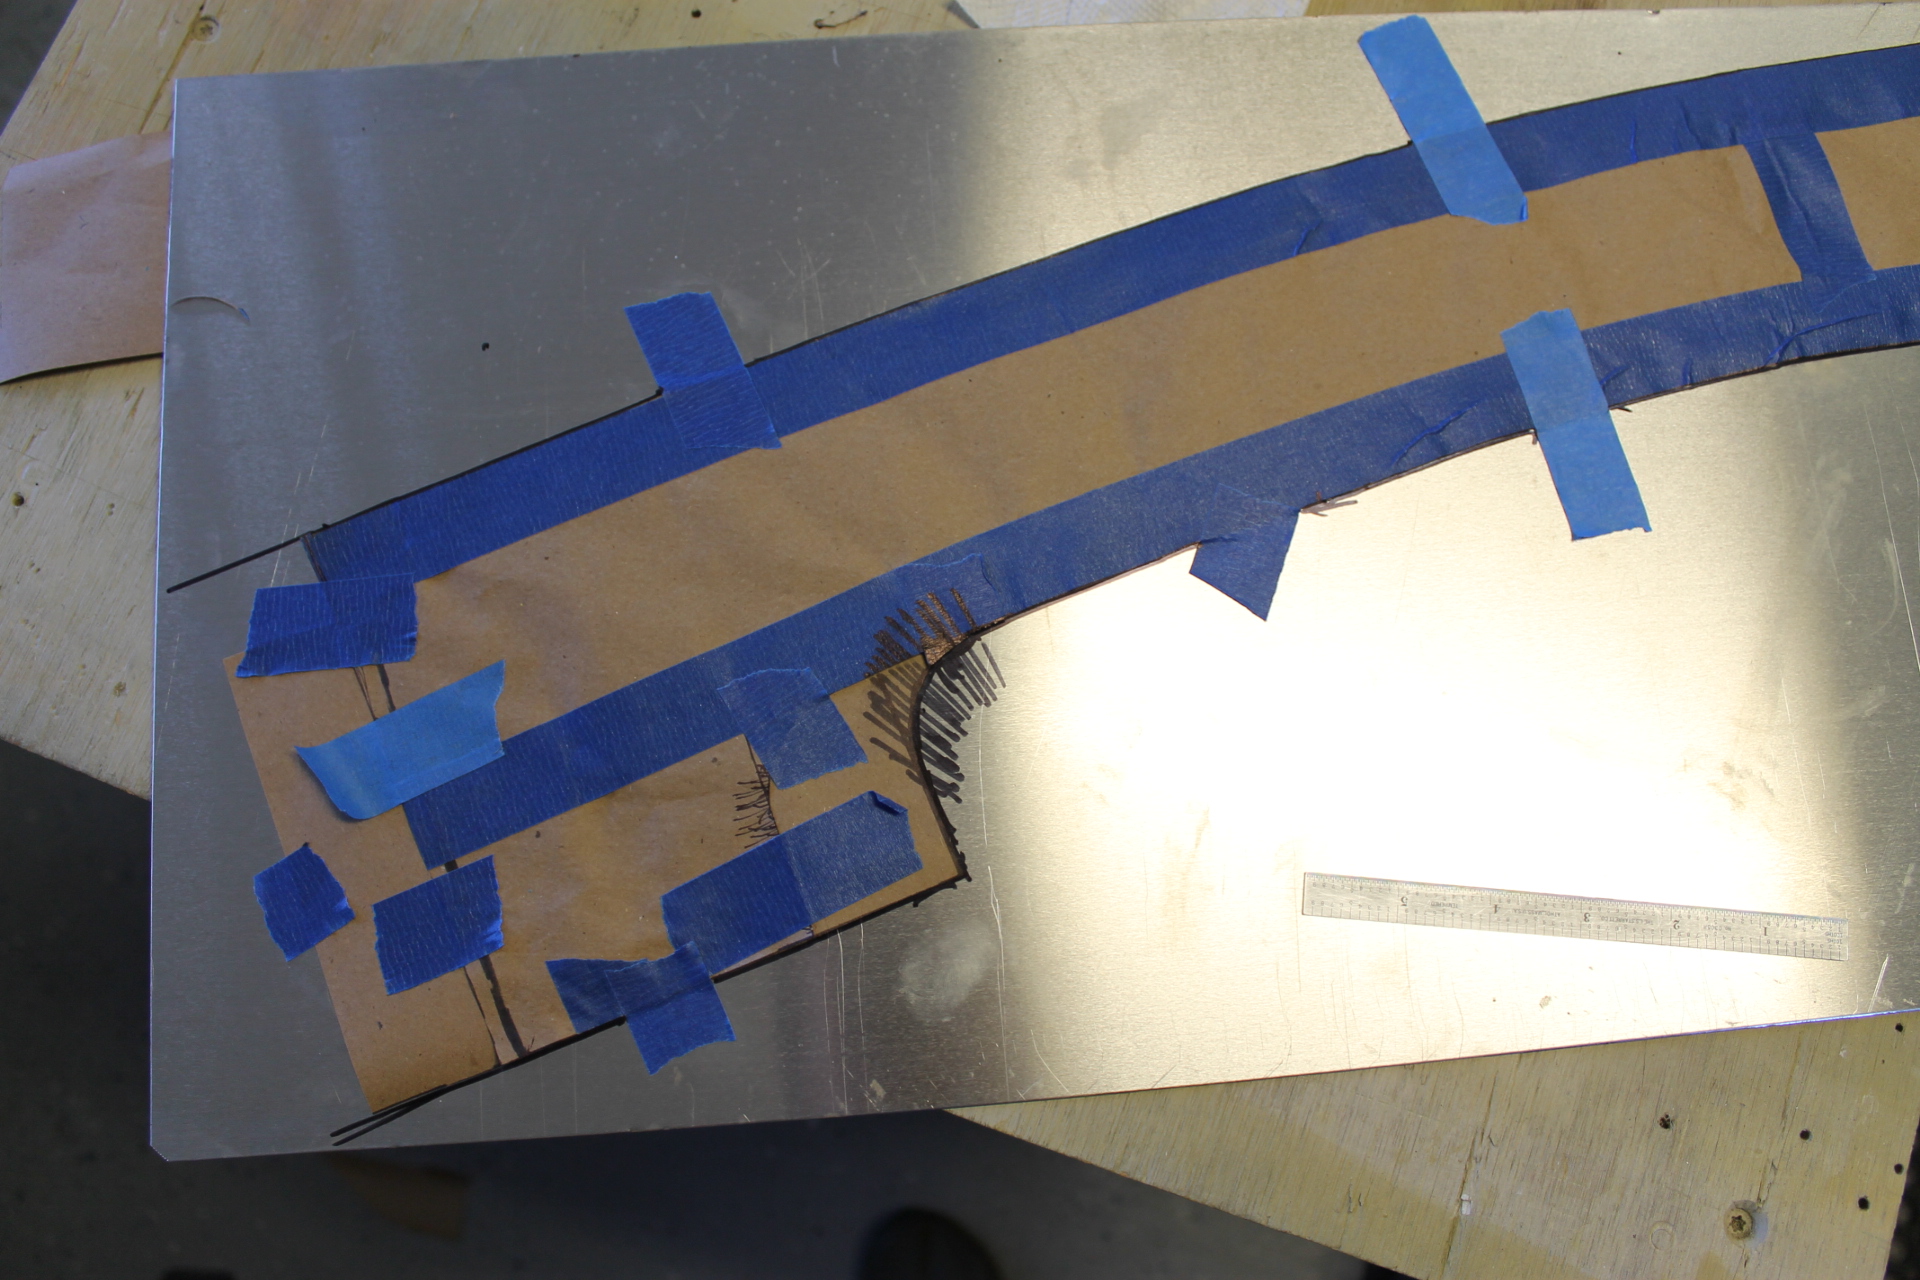
Canopy Bow
This is a modification from the original design which is supposed to increase the durability of the joint between the canoy and the wind screen. Instead of a fiberglass overlap, I will be using a .032 inch aluminium sheet cut the correct shape.
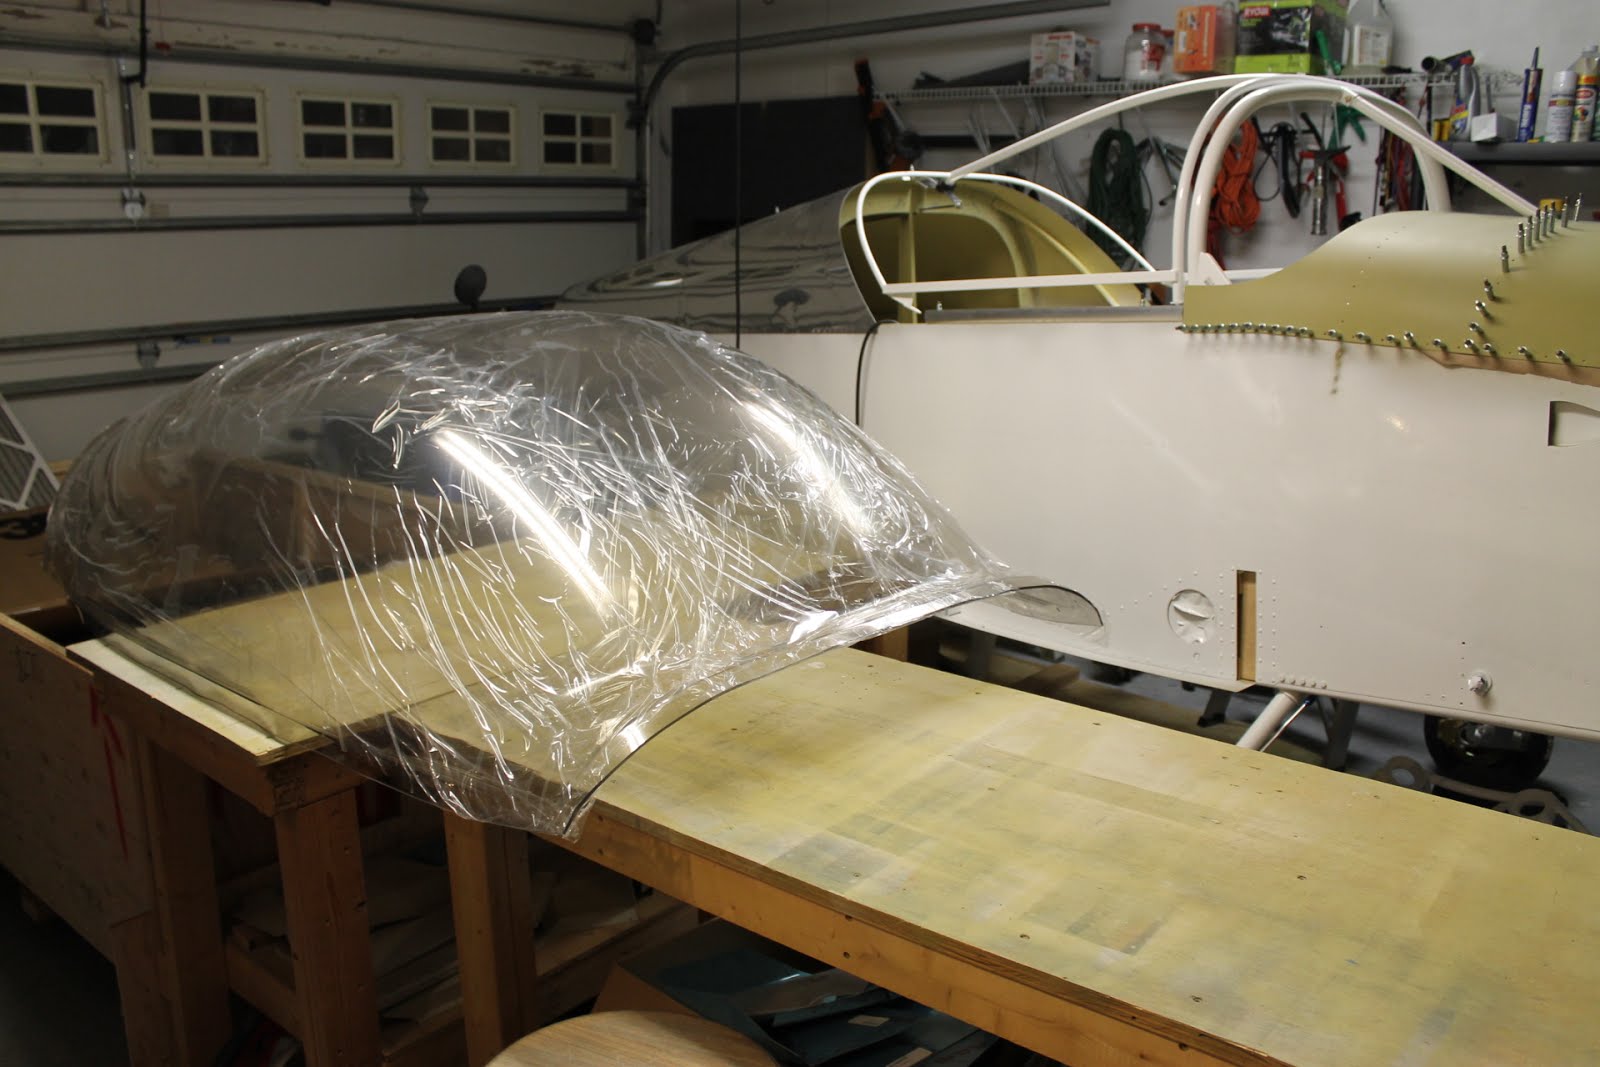
Completed Canopy
So one thing I can say, the canopy takes a long time to complete. A loooooooooong time. I will admit there was a lot of start and stop work over a few months to complete this. I would guess there is more than 60 hours in total to complete this component. I am extremely happy with the finished product. I'll give the abridged version here the get this blog caught back up to present day.


Friday, November 1, 2019
Cutting the Canopy
This is probably one of the most nerve racking jobs on the plane. You get one shot at cutting the canopy split in the correct location for you have to order a new part at $1200 a pop plus a big freight bill. First lay out the cut lines on the bottom and make the first cuts. This is a single post however this process took over two weeks to this point. Still not done.

Used masking tape to place the line.

First cut completed.

And the second side.

Test fit and find the location of the mid line cut which separates the forward windshield and the canopy.


And now a test fit on the plane.


Used masking tape to place the line.
First cut completed.
And the second side.
Test fit and find the location of the mid line cut which separates the forward windshield and the canopy.
And now a test fit on the plane.
Canopy Slider Frame
This week I have been working on the Canopy slider frame. Actually it has been a couple of weeks
This frame is what forms the actual canopy door to enter and exit the aircraft. The first item to start with is the roller assembly. This was a small challenge because the brass bushings the the rollers ride on appeared to be two short. According to the plans they were supposed to be 1/2 inch. The ones included were only 1/4. I ended up finding a suitable replacement at Ace Hardware, a 1 inch bronze which I cut and sanded down on the drill press. Sorry, as I did not take any pictures except this finished product. You can see the spare bronze bushing off to the right in this pic.

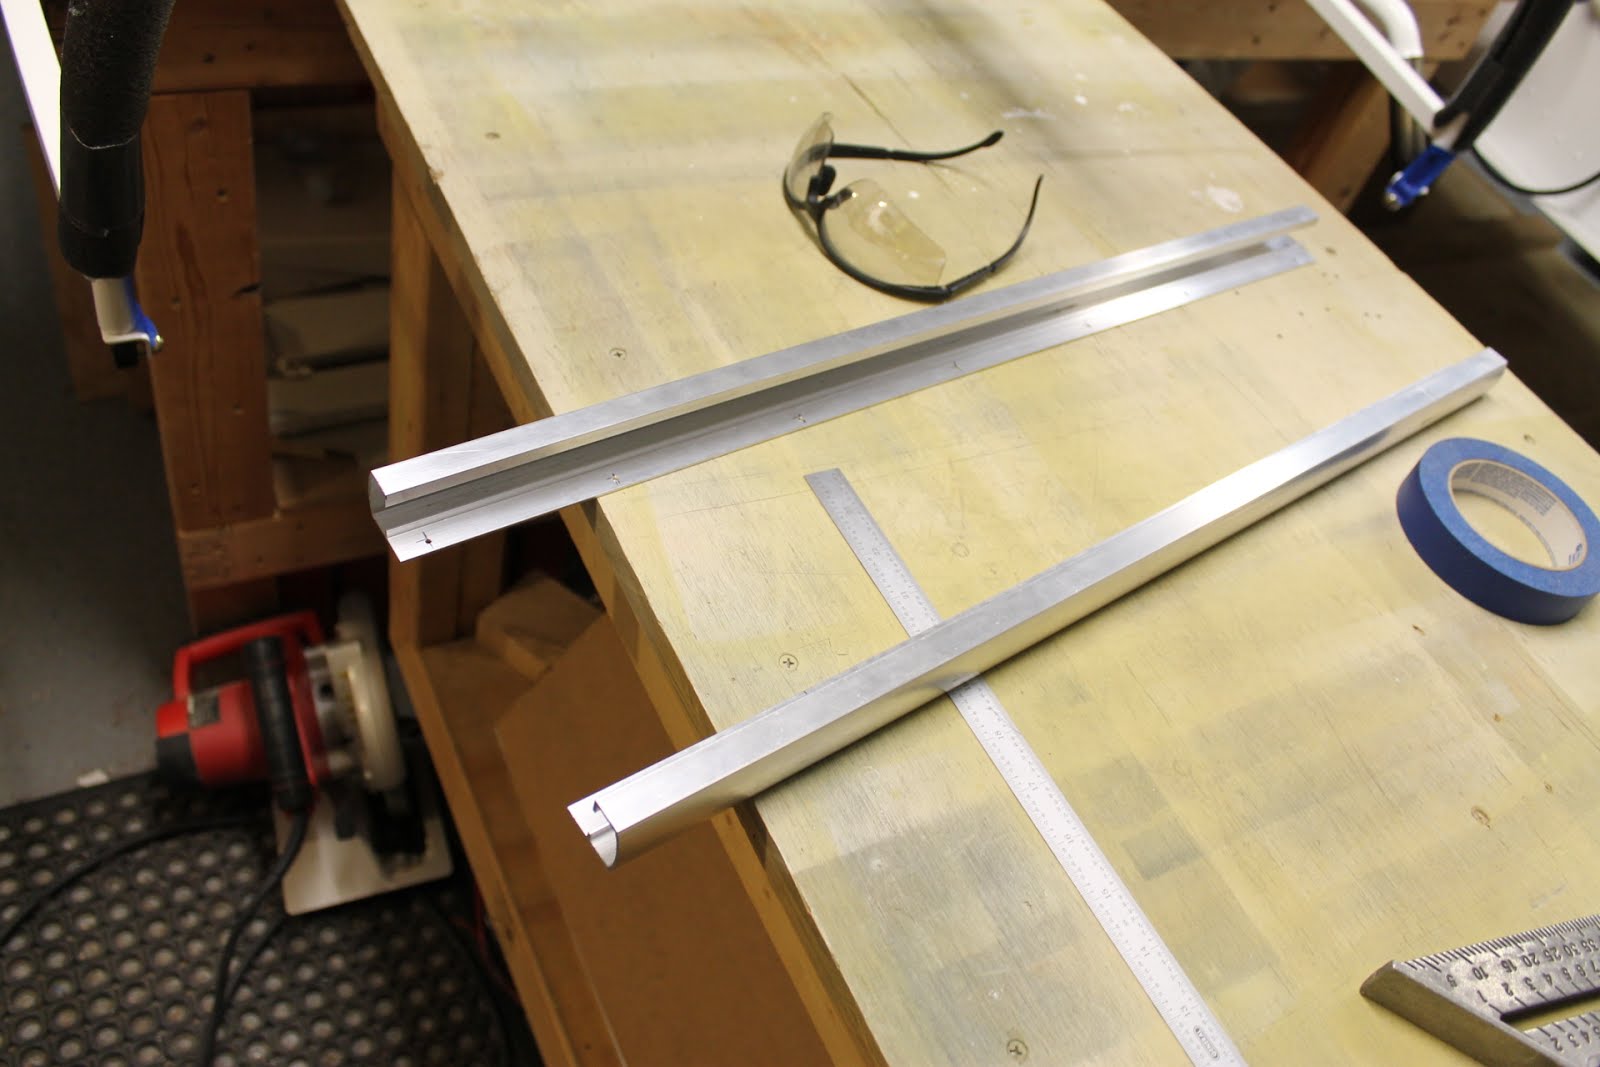
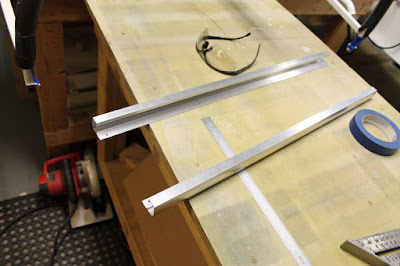
Next I cut the tracks down to size. Simple chop off with the hack saw.
The rear of the slider frame is supported by a plastic material block. The hole through the block and the metal bracket had to be located and drilled freehand. I took a lot of time alternating between the drill press and the 12 inch drill to make this line up perfectly. I wanted to make sure this was straight as this is a piece that could bind and cause the canopy to be hard to open and close.

Next the rear track. Another job for the drill press, vice and many clamps.


Finished product attached to the plane.

This frame is what forms the actual canopy door to enter and exit the aircraft. The first item to start with is the roller assembly. This was a small challenge because the brass bushings the the rollers ride on appeared to be two short. According to the plans they were supposed to be 1/2 inch. The ones included were only 1/4. I ended up finding a suitable replacement at Ace Hardware, a 1 inch bronze which I cut and sanded down on the drill press. Sorry, as I did not take any pictures except this finished product. You can see the spare bronze bushing off to the right in this pic.
Next I cut the tracks down to size. Simple chop off with the hack saw.
The rear of the slider frame is supported by a plastic material block. The hole through the block and the metal bracket had to be located and drilled freehand. I took a lot of time alternating between the drill press and the 12 inch drill to make this line up perfectly. I wanted to make sure this was straight as this is a piece that could bind and cause the canopy to be hard to open and close.
Next the rear track. Another job for the drill press, vice and many clamps.
Finished product attached to the plane.
Subscribe to:
Posts (Atom)