Monday, April 12, 2021

Fiberglass Canopy Bow

 I decided against the aluminum canopy bow. I decided that it might be better for aerodynamics to follow the original Van's design for this piece. 

Here are the strips that will form the bow. this will be bonded directly to the wind screen.


Someone decided to take my picture here. 


The canopy is used as a form to get the shape correct


After cure, the slider canopy is opened. this will be cut and sanded to final shape. 


Saturday, January 23, 2021

Forward Canopy Fiberglass

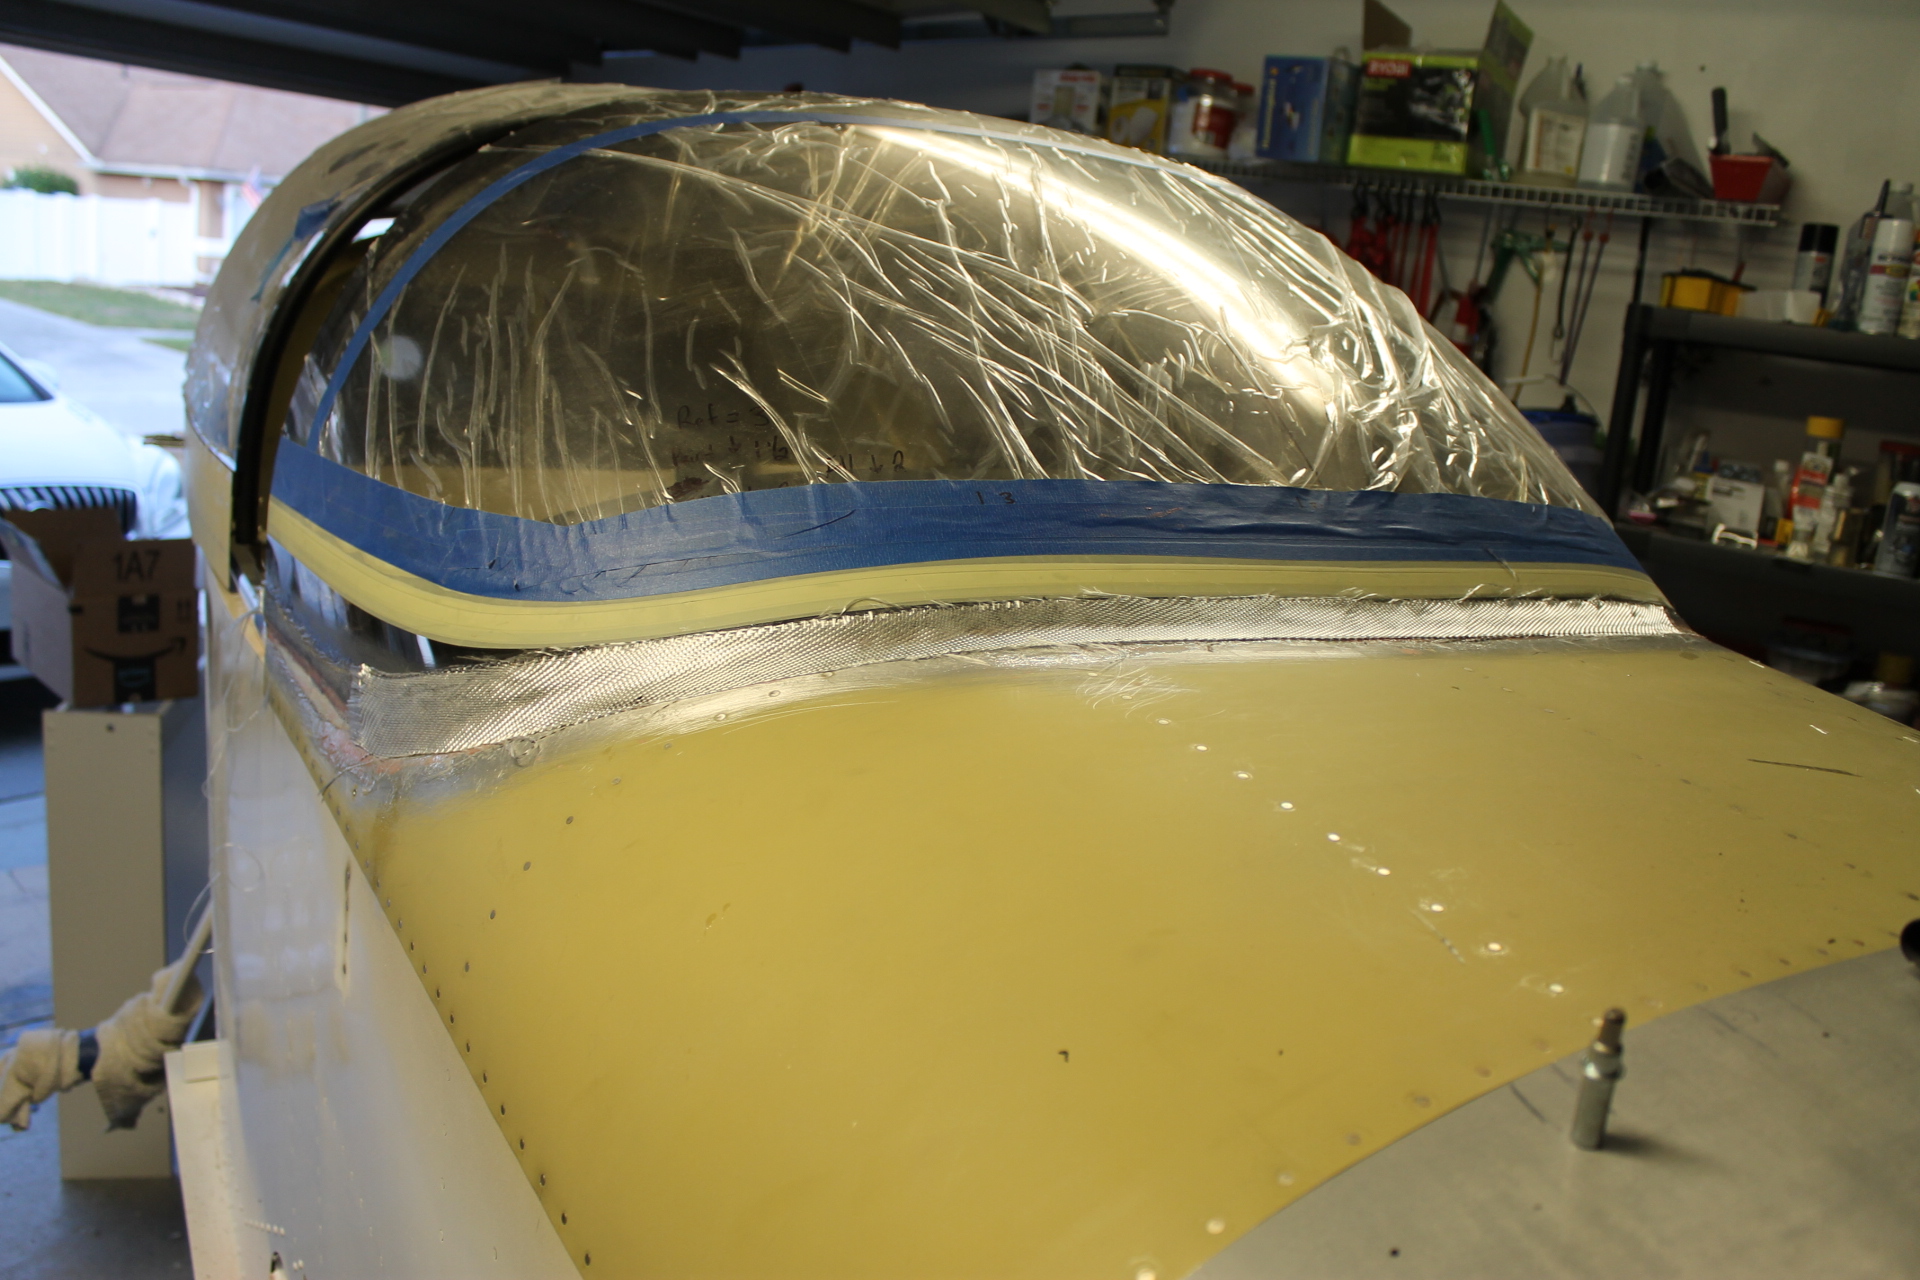
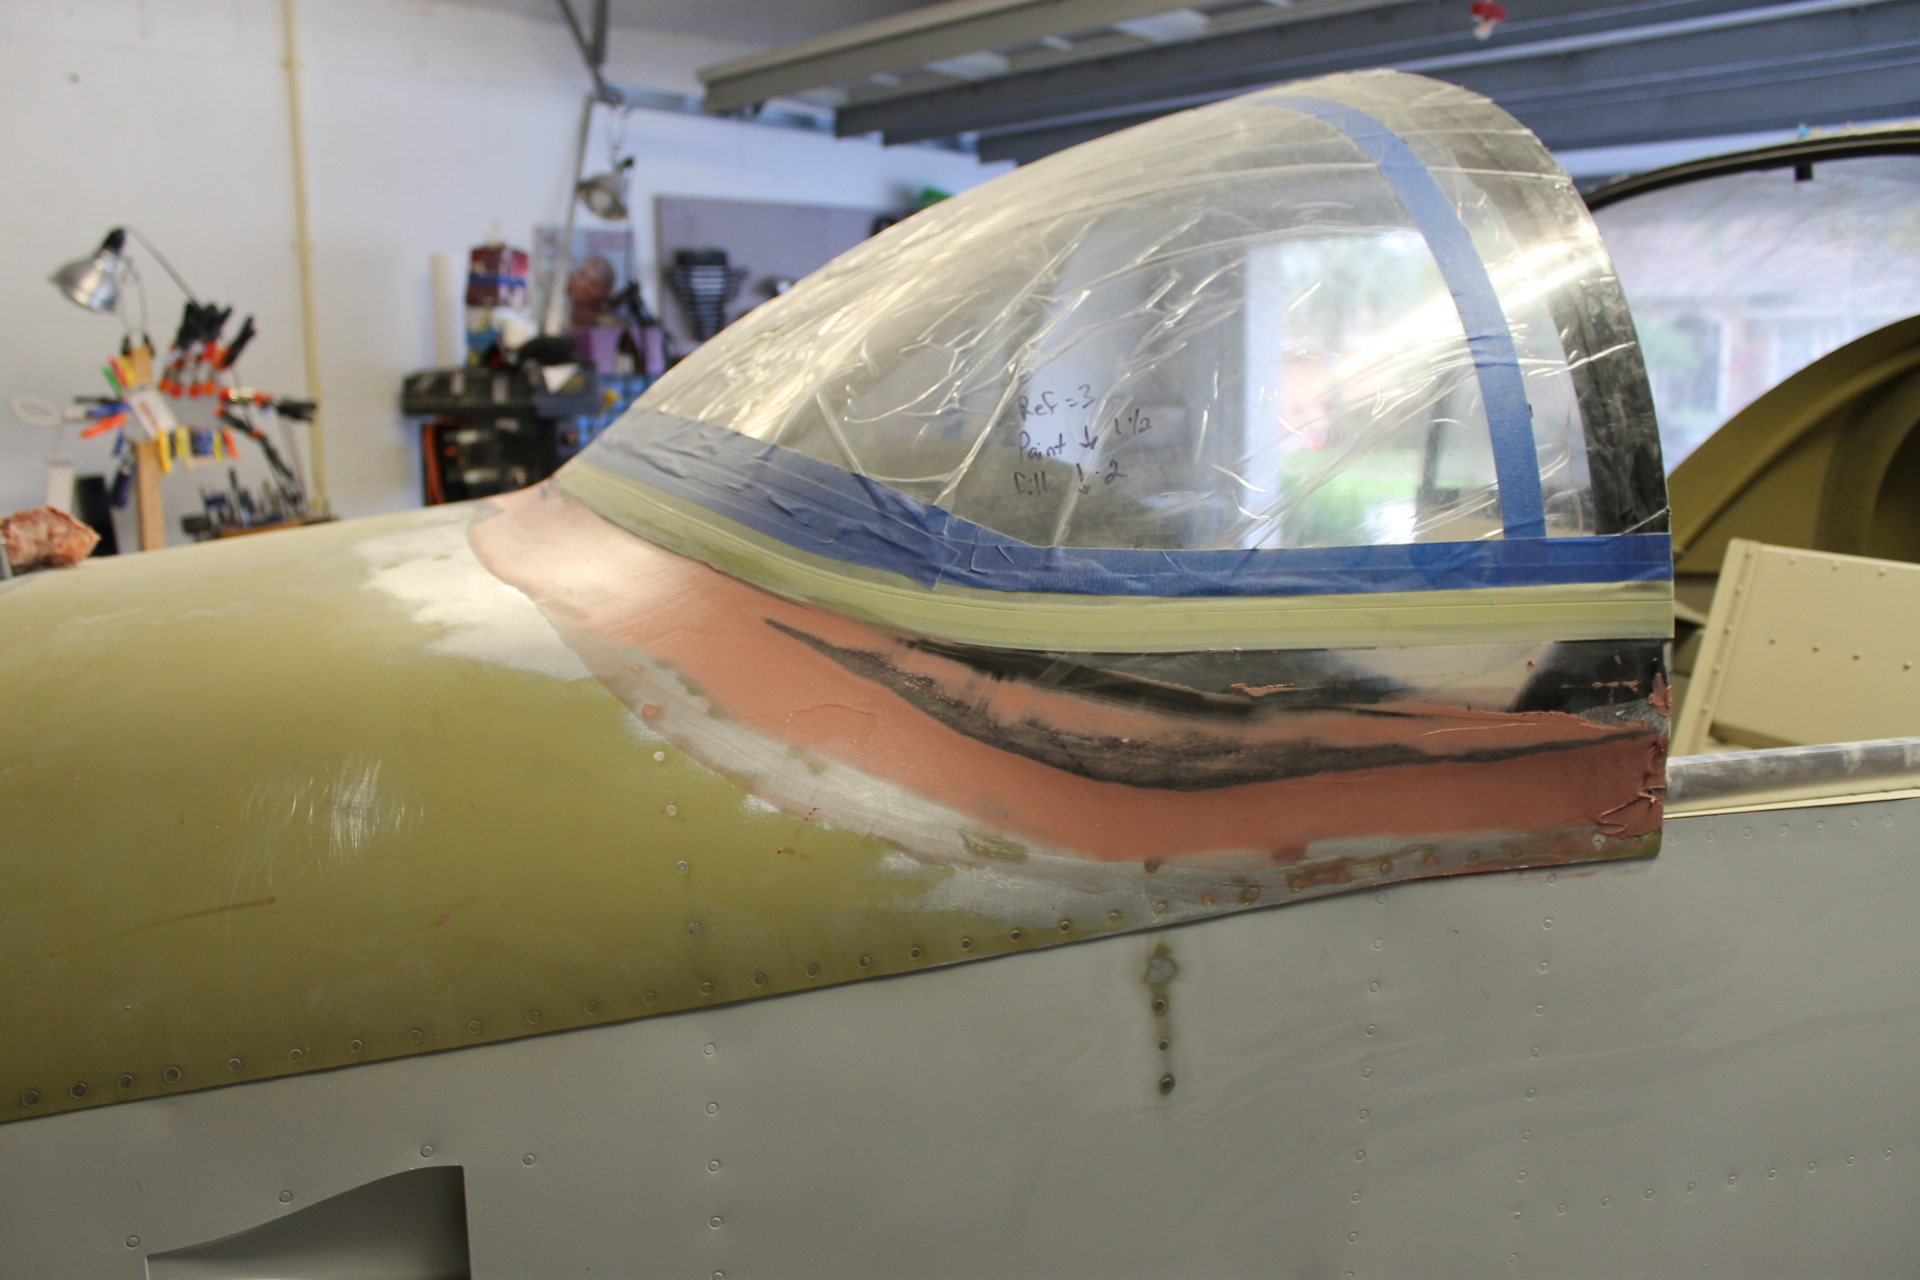
 Morning all. Catching up on my posting as I have quite a back log of pictures to get through here. I have been working on the canopy. After installing the actual wind screen, I need to dress it in with a few layers of fiberglass and a "bondo-like" material to make it a happy aerodynamic shape. 


Starting with the Fiberglass Layup. Strips are cut to transition between the aluminum deck and the plexi. I did around 6 layers progressively getting smaller while building up. 


Then we use AwlFair which is a two part filler material which won't shrink. This will be applied and sanded many times to get the final smooth shape needed. Think airflow. 


Thursday, December 31, 2020

Mounting Engine

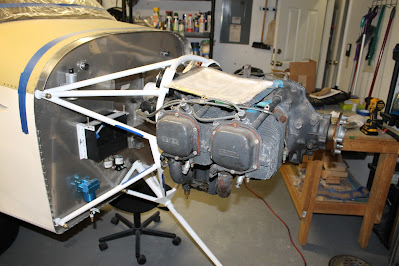
OK, OK,OK, this isn't the actual engine. I have picked up an engine core (completely run out, not running engine) to use to continue the build process. Engine is an O-320-D3J from a Piper Archer. This is kind of an advantage is some ways. If I were to buy a new engine now, it would sit around until I finish the build. Airplane engines do not like to sit around. I can only imagine what is going on inside this run out engine. 

Anyway I can use this to continue building. Down the road I have the option to rebuild this engine or find a better one. To be determined. . .


Sunday, July 19, 2020

Wheel Fairings


The gear and wheel fairings as said to increase the top speed by 12 MPH. The kit does contain a great shape to get started with. I start out with some trimming the gear leg fairings to remove excess material to make them fit properly. 


Next the wheel pants them selves.


Fitting to the wheels


Used laser levels to create a grid aligned to the center line which made the line up a snap. 


Mocking up the intersection fairings. 


Again using the laser level to line up the gear fairings. 


Accurate to 1/32 inch. I'm sure once they are put on and off a few times, they will become sloppy, But for now, they are correct. 


Canopy Bow

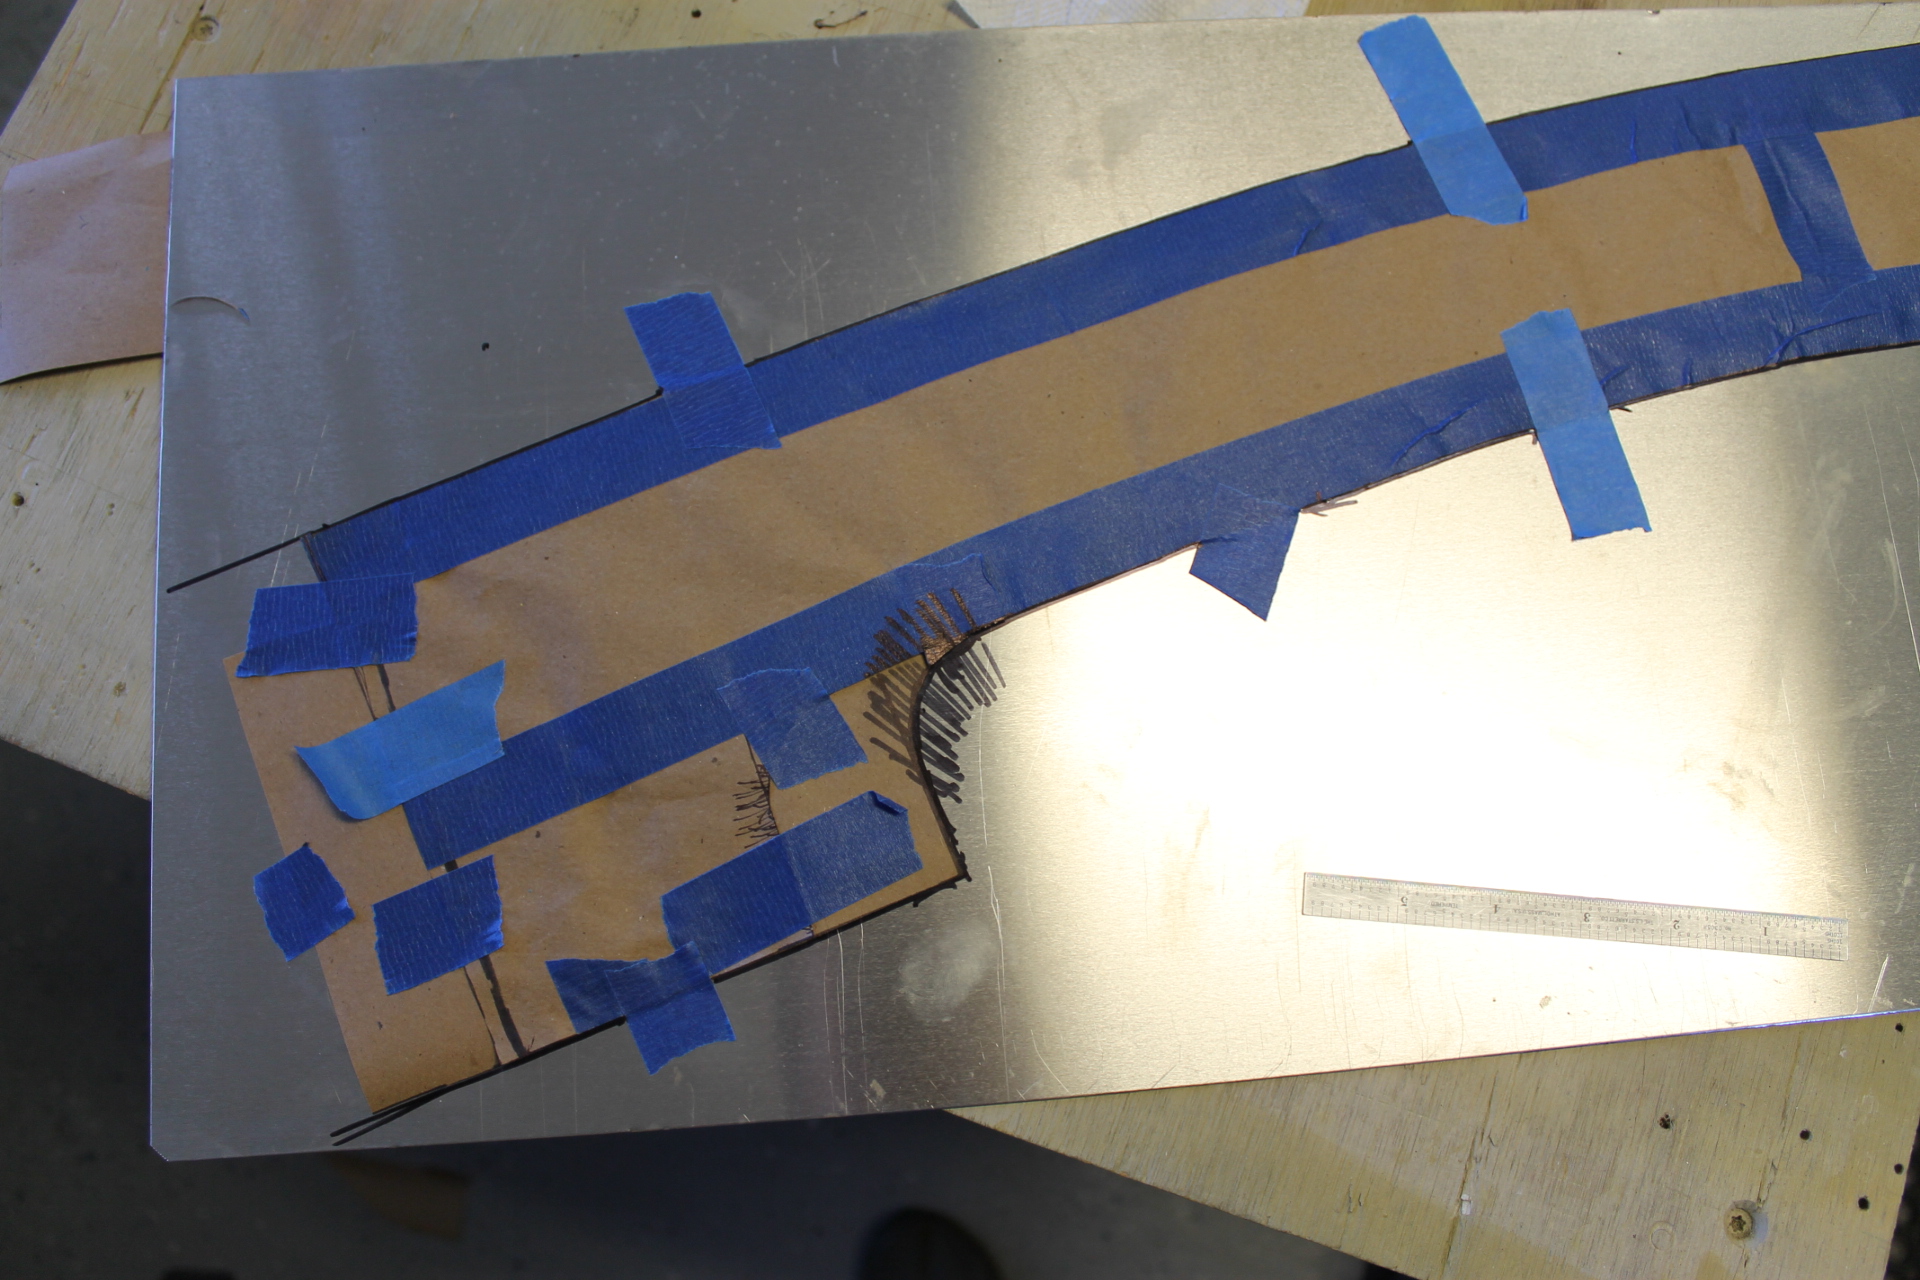
This is a modification from the original design which is supposed to increase the durability of the joint between the canoy and the wind screen. Instead of a fiberglass overlap, I will be using a .032 inch aluminium sheet cut the correct shape.


Completed Canopy

So one thing I can say, the canopy takes a long time to complete. A loooooooooong time. I will admit there was a lot of start and stop work over a few months to complete this. I would guess there is more than 60 hours in total to complete this component. I am extremely happy with the finished product. I'll give the abridged version here the get this blog caught back up to present day.