Friday, December 30, 2016

Firewall Part Fabrication

So here is my first real part fabrication. There are two angle brackets which stick out from the front of the firewall. These must be made from a piece of angle aluminium.

Understand the plans and see the shape in the raw material. Draw the lines out to cut.


Cut out the part. I have a band saw thanks to the wonderful tool donation by my Grandfather. I need to buy a metal blade which I see coming real soon. For now the hack saw will do.


File the edges to a smooth finish and touch up with the scotch brite wheel.


There are two so I will be making one more.

Left Elevator


Working the Left elevator now. The Frame has come together nicely with the exception of the Trim Spar at the rear of the elevator. This is the piece which will hold on the trim tab. Getting into a rhythm when dimpling all parts I missed the instruction where the top of this part was supposed to be machine counter synced. I called VAN's tech support. They told me to use my squeezer set to straighten the holes out again and then counter sync. I did this however when installing the skin I found the the part causes the skin to be wavy. I ended up counter syncing to far through the material in attempts to make the skin lay flat. Rather than having this be a weak bond for the trim tab I have ordered a new trim tab spar to try again.

here is a pic of the spar that I messed up on.


the holes have become way to large and distorted as a result of my over counter syncing.


So as I wait for the replacement part, I will start on the Firewall parts. Here are some other parts of the frame and elevator trim servo going into place.  

Hinges going in


flush rivets for joining the lower rib.


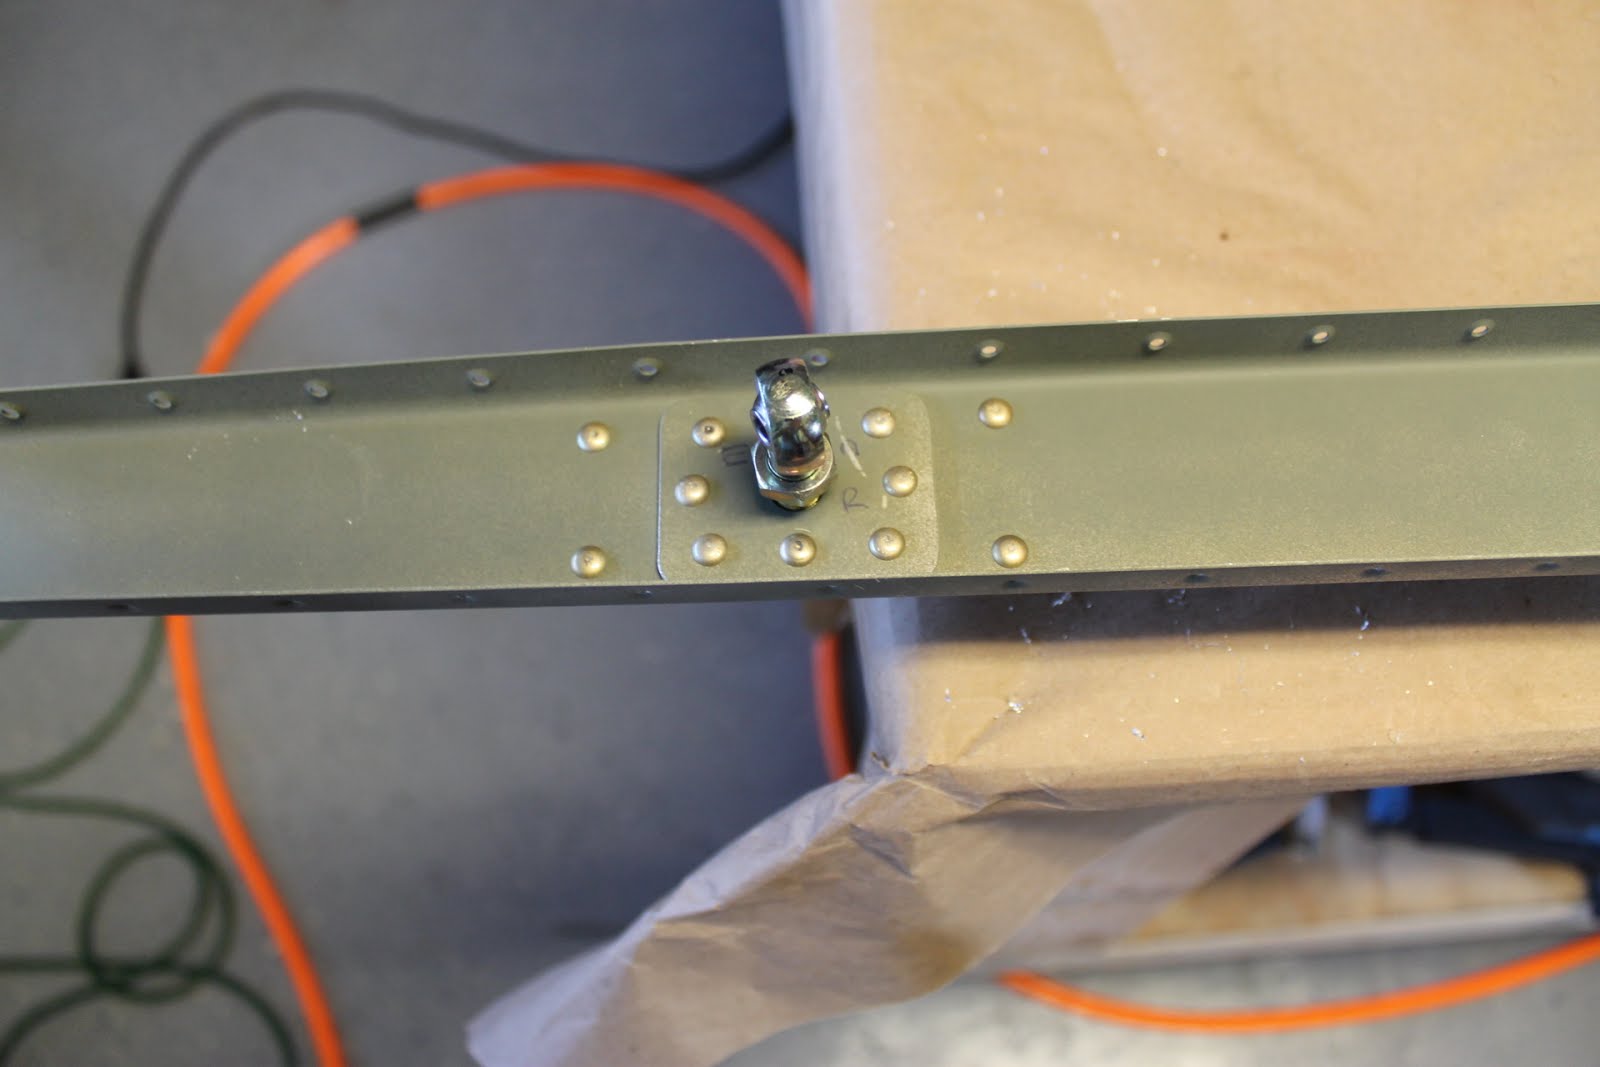
Trim servo mounting bracket


Trim Servo mounted to bracket


Wednesday, December 21, 2016

Working the Right Elevator

Tonight I'm working the Right Side Elevator. This is the side with no trim tab. This side comes with its own headache though. This requires some fabrication of the counterweight.

Here is the plans view of what I am making.


Taking the lead block that Van's provides, I use a Vixen and rat tail file to make the correct shape.


Here is the finished product mounted in the elevator.


Then a shot of the rivets going in.


Done with this one.


Right Elevator

Working along on the Elevators. The Right one is in my sights.

The test fit is complete.

All parts have been primed and final assembly can begin. 

Fuse Kit Has Arrived

The fuselage kit has arrived via 18 wheeler. Thanks to the driver who was good enough to lug it into the garage with the palette jack.


Tuesday, December 6, 2016

Rudder Finished

Finishing up the rudder and finally hanging it on the wall is a good feeling.

First Task is to use tank sealant to glue the trailing edge in a straight line. I used a 6 Foot piece of pool screen framing as it is something that I had laying around. I drilled holes matching the holes in the trailing edge, applied glue inside and clecoed to the straight edge.


Once the glue was dry, I removed the straight edge and was ready to rivet. The weight helps keep everything straight.


With the trailing edge finished, I could move on the the leading edge.


Finally in New Shop!!!

Well here we are in December. I am now all moved into the new shop at the new house. I hope that is the last major interruption. I am well underway with finishing up the rudder and elevators.

I have coated the concrete floor with a speckled epoxy and installed an air conditioner. I will be insulating above the ceiling here soon. Benches/Tables setup, I should be ready to go.