Tuesday, July 5, 2016

Progress is Slow

Well, everyone said it would happen. Life gets in the way and completely derails progress. Debbie and I are in the process of buying a new home. This one has a pool and some more bedrooms. This means I have to spend all my time getting the current house sale or rent ready. Then we will be moving. I will also have to build a new shop at the new location. Definitely an air conditioner this time around.

Anyway, here are a few pics to show what I have been able to get done. With Debbie's help, I was able to get the skins on. She likes to run the rivet gun.


Thursday, May 5, 2016

Wednesday, May 4, 2016

Hello again. Thanks for checking in on my progress. It is about time i get some paint on this thing. Well primer anyway. This is probably one of the largest debates regarding the construction process. Some say it is necessary to use a complex two part system requiring an expensive system with a paint booth, others say that automotive primer is good. Others (including Van's) say it is not necessary to prime as the plane will certainly outlive the builder no matter what. I have decided to take the advice of the editor of Kit Planes who said in a Vans Airforce (http://www.vansairforce.net/) forum post that Dupli-Color Self Etching Primer has always worked great for him. 

Here are my parts all laid out and scuffed up with scotch brite, ready for priming. 


I started out with a screen and quickly realised this was a bad idea. Ended up getting crappy results. I had to sand these parts down and start over. I needed to figure out how to keep the spray can upright.


This is what I came up with. Safety wire to string up all the pieces. This worked much better. 


And the finished product.


Skins were pretty easy.  Ran out of primer. Skins will need another coat before installing.


Sunday, April 24, 2016

No progress for a while

So a trip to NY has slowed my progress a bit. I have not had much chance to build or post in the last month. Since my parents have been visiting over the last week we have made a point to get some of the "two man" work done. We have dimpled the skins for the horizontal stabilizer. Pics below for your enjoyment.


Wednesday, March 16, 2016

So Moving along with the C-Frame Table. I have put on the table top.


And I have given it Feet for leveling.


And BAM!!! Carpet to finish it off. 


And for those of you who ask - WHY???  Here is a pic of it in use. When I need to get to the center of a Skin section, this will allow a perfect smack in the right spot where no other tool can reach, and can be done by one person.  Gotta be smart folks.


Hobson wants to know what all the damn racket is. He said he wants a turn on the circular saw.


Today I am working on building a table for my C-Frame. C-Frame is a tool used to dimple skins way out in the middle where you can reach with no other tool.


Some people use the C-Frame naked and attempt to navigate to the hole in mid error. This method would definitely be a two or three man job. As I am by myself, I will make a table to slide the skin around and hold it while I smack the C-Frame with the hammer.


First I needed to arrange my work tables into a square and re-level.


To build the table, Cleveland tools has provided some plans.

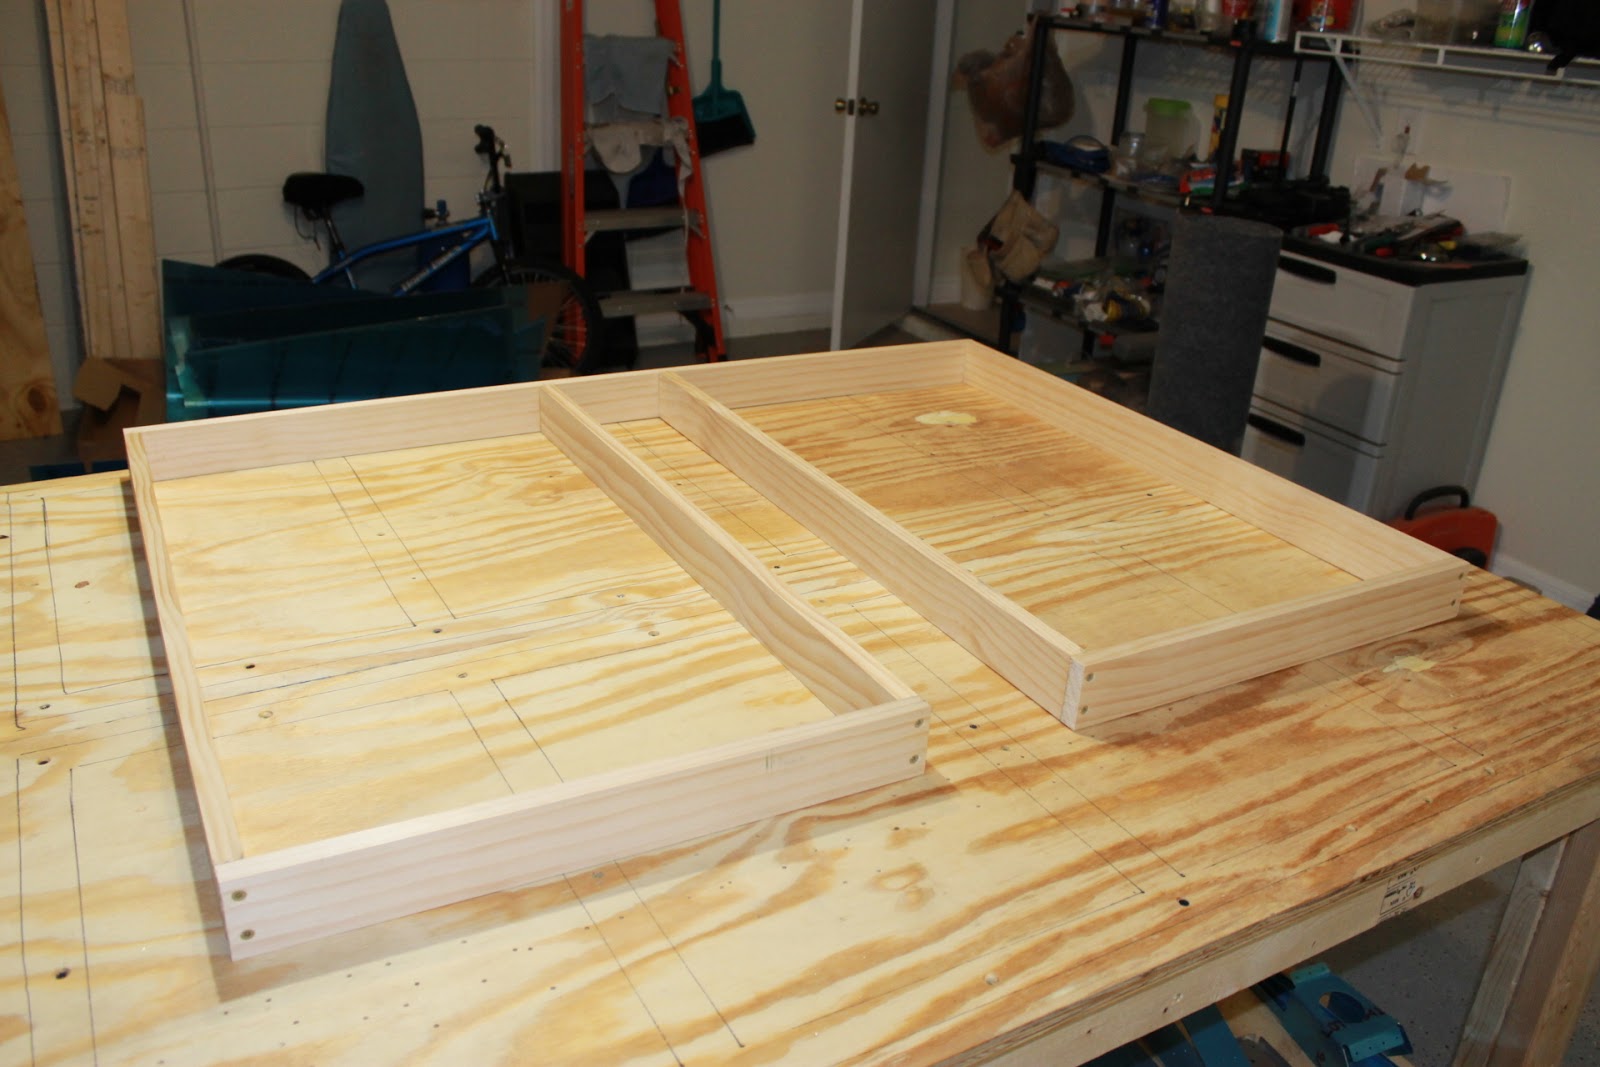
So here is the frame put together with screws and wood glue.