Saturday, July 23, 2016

Elevator Stiffeners

Sorry I haven't posted in a few days. I have spent the last week making these things. These are the stiffeners for the Elevator.

Now on to something more fun. Skin.


Monday, July 18, 2016

Final Rudder Assembly

Now to assemble rudder.
Start by attaching the rudder control horn. This will attach to the rudder pedals.

Now install the bottom rudder attachment bearing.

and the mid rudder attachment bearing (back view)

(Front View)

 Now the counter weight gets installed. (big piece of lead)

Counter weight with skin installed to hide it. 

And finally the skin can go on.


One rudder


All Parts Primed

Some pics of priming parts


Friday, July 15, 2016

Skin Dimple and Countersink Parts

Hours of sanding, Dimpling and countersinking. All parts are now ready for priming. 


Also have countersunk the rudder counterweight. 


Thursday, July 14, 2016

Rudder Skins Test Fit

Test fitting the rudder skins today. Really all components are complete and are clecoed together. Now to disassemble, deburr, dimple prime and then rivet together.


Tuesday, July 12, 2016

Rudder Frame

OK all, now that I have rudder skins all ready to go, I need a rudder frame to put them on. So that is my task for tonight.

Shape the control horns 

Assemble the Frame


Test fit the Skins


Make the Horn Brace Box

Sunday, July 10, 2016

Rudder Skins

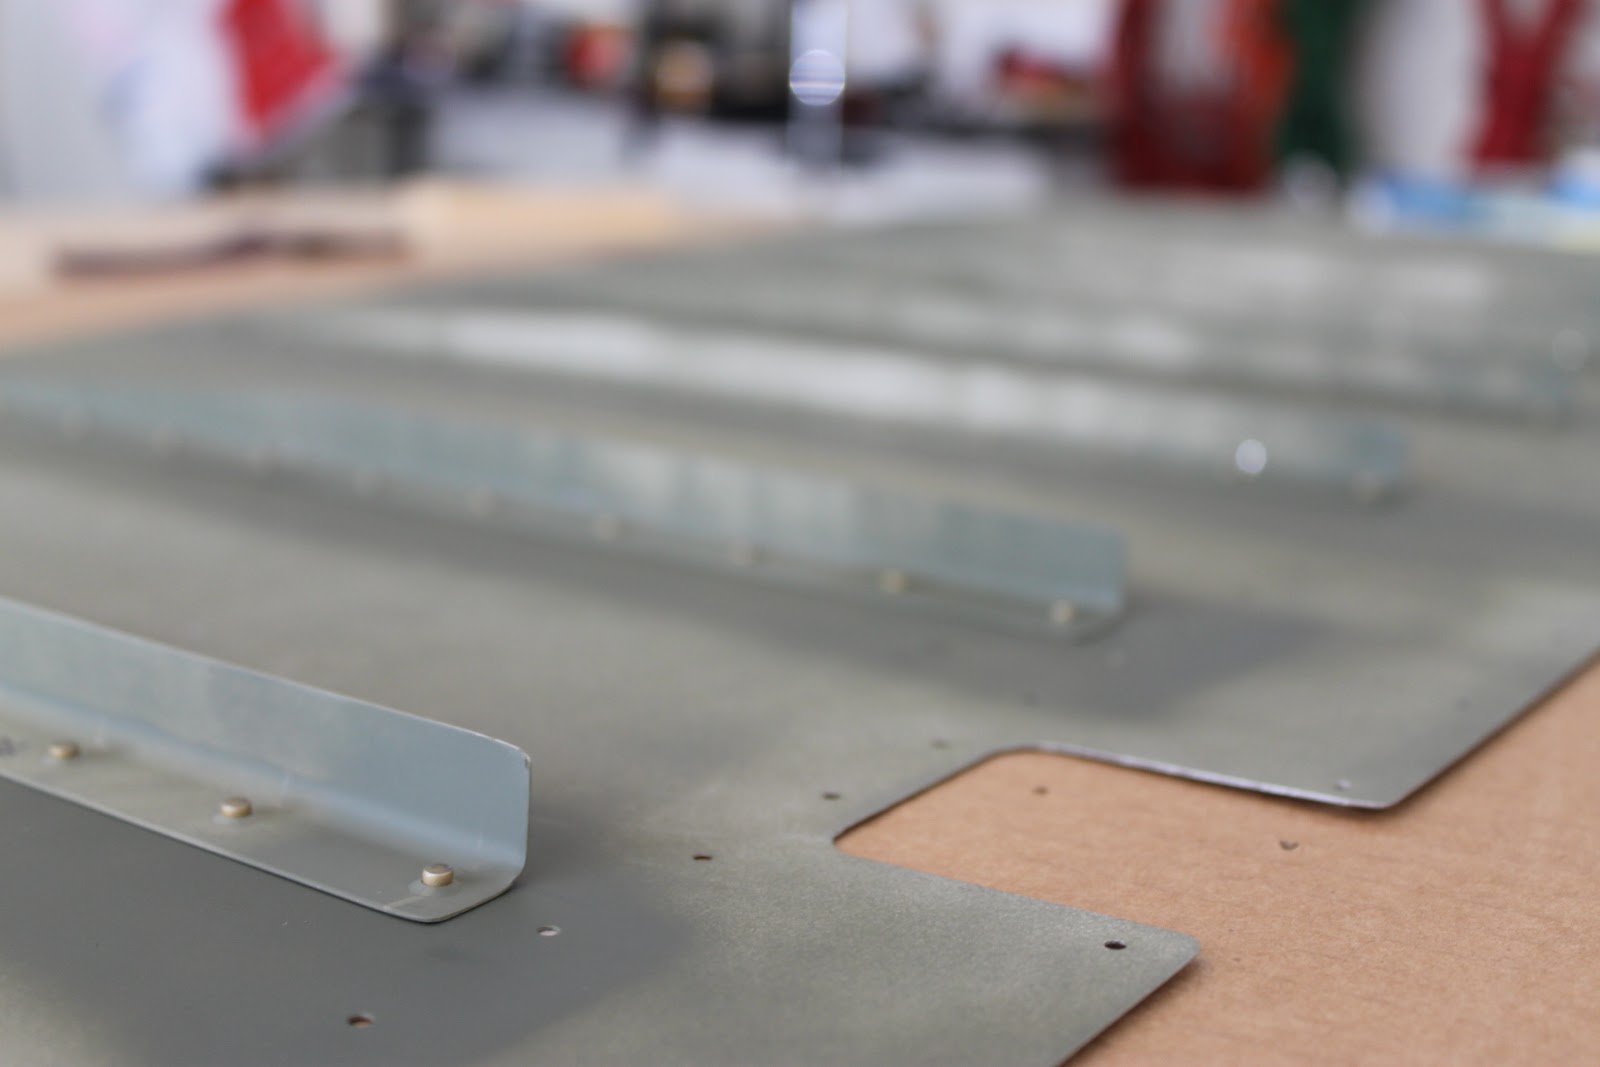
Today I am working on the Rudder Skins. The Skins will use Stiffeners to allow them to keep their shape when being forced into the wind. The Stiffeners must be cut out from angle aluminium and formed to the correct shape. Used Metal Shears to cut out the rough shape and finished up on the Scotch Brite wheel.


Next Dimple the Stiffener and Skins


Then Prime and Back Rivet. To get the height correct I used a piece of card board around the Back Rivet plate.


Then use Scotch Tape to keep the rivets in place