Friday, November 1, 2019

Cutting the Canopy

This is probably one of the most nerve racking jobs on the plane. You get one shot at cutting the canopy split in the correct location for you have to order a new part at $1200 a pop plus a big freight bill.  First lay out the cut lines on the bottom and make the first cuts. This is a single post however this process took over two weeks to this point. Still not done.


Used masking tape to place the line.


First cut completed.


And the second side.


Test fit and find the location of the mid line cut which separates the forward windshield and the canopy. 


And now a test fit on the plane.


Canopy Slider Frame

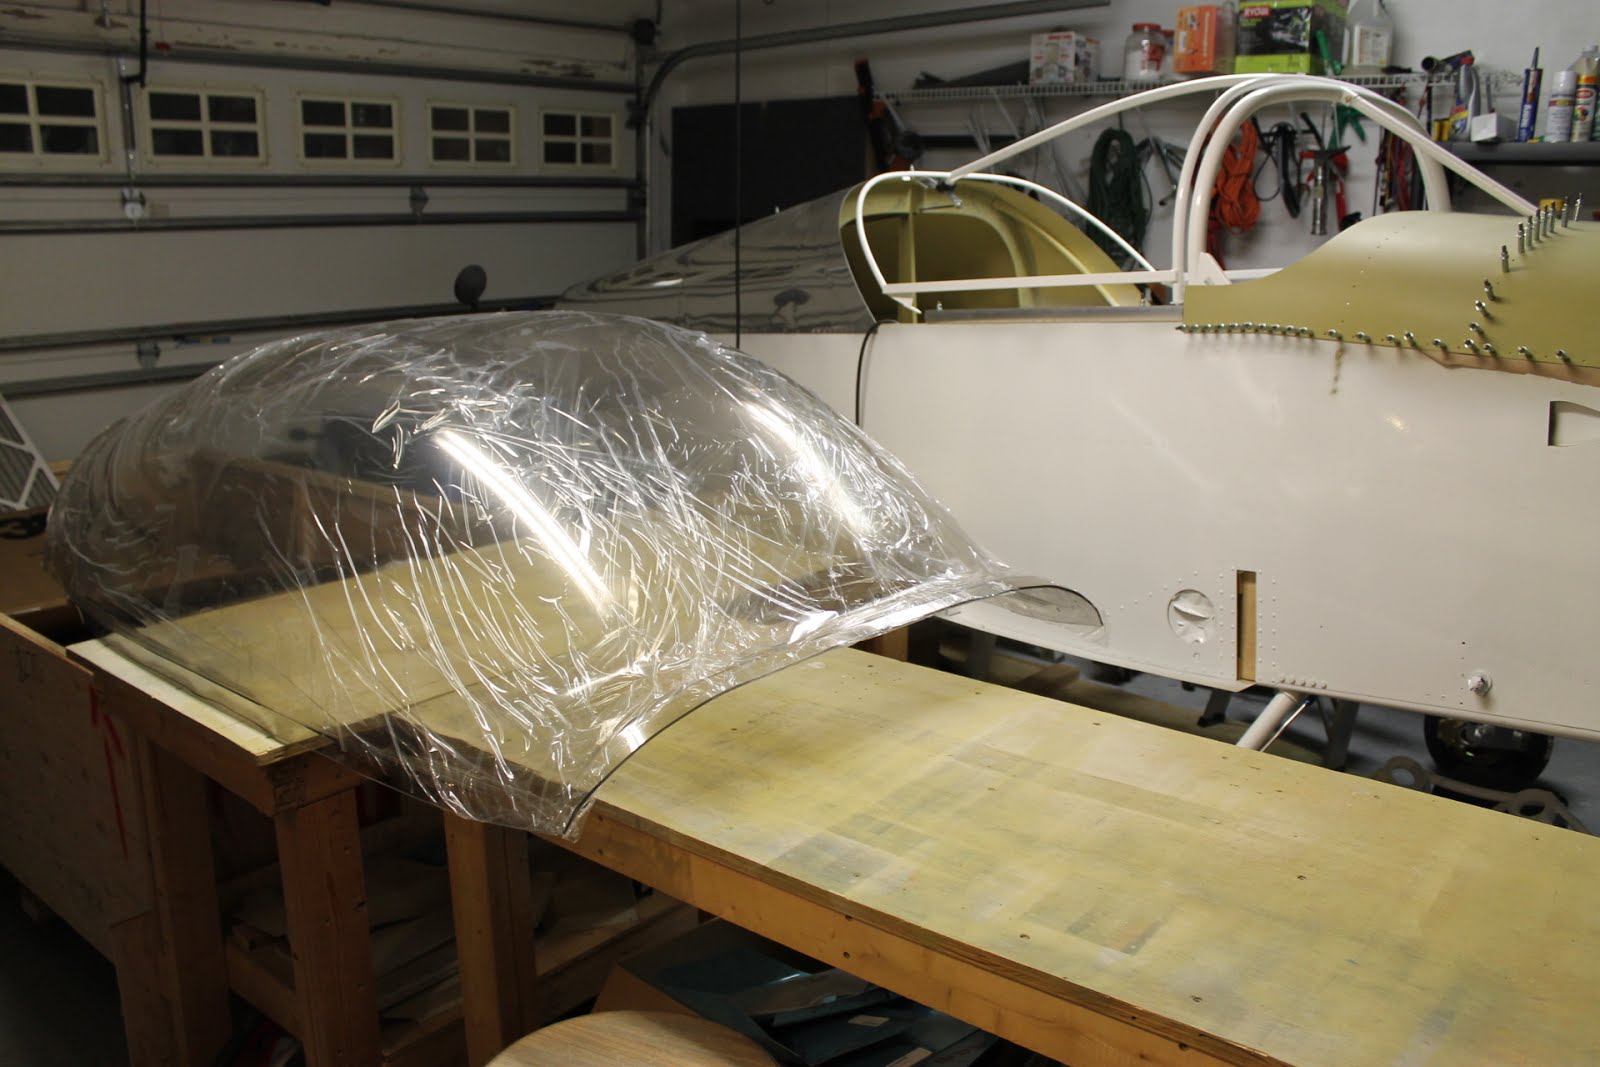
This week I have been working on the Canopy slider frame. Actually it has been a couple of weeks
This frame is what forms the actual canopy door to enter and exit the aircraft. The first item to start with is the roller assembly. This was a small challenge because the brass bushings the the rollers ride on appeared to be two short. According to the plans they were supposed to be 1/2 inch. The ones included were only 1/4. I ended up finding a suitable replacement at Ace Hardware, a 1 inch bronze which I cut and sanded down on the drill press. Sorry, as I did not take any pictures except this finished product. You can see the spare bronze bushing off to the right in this pic.


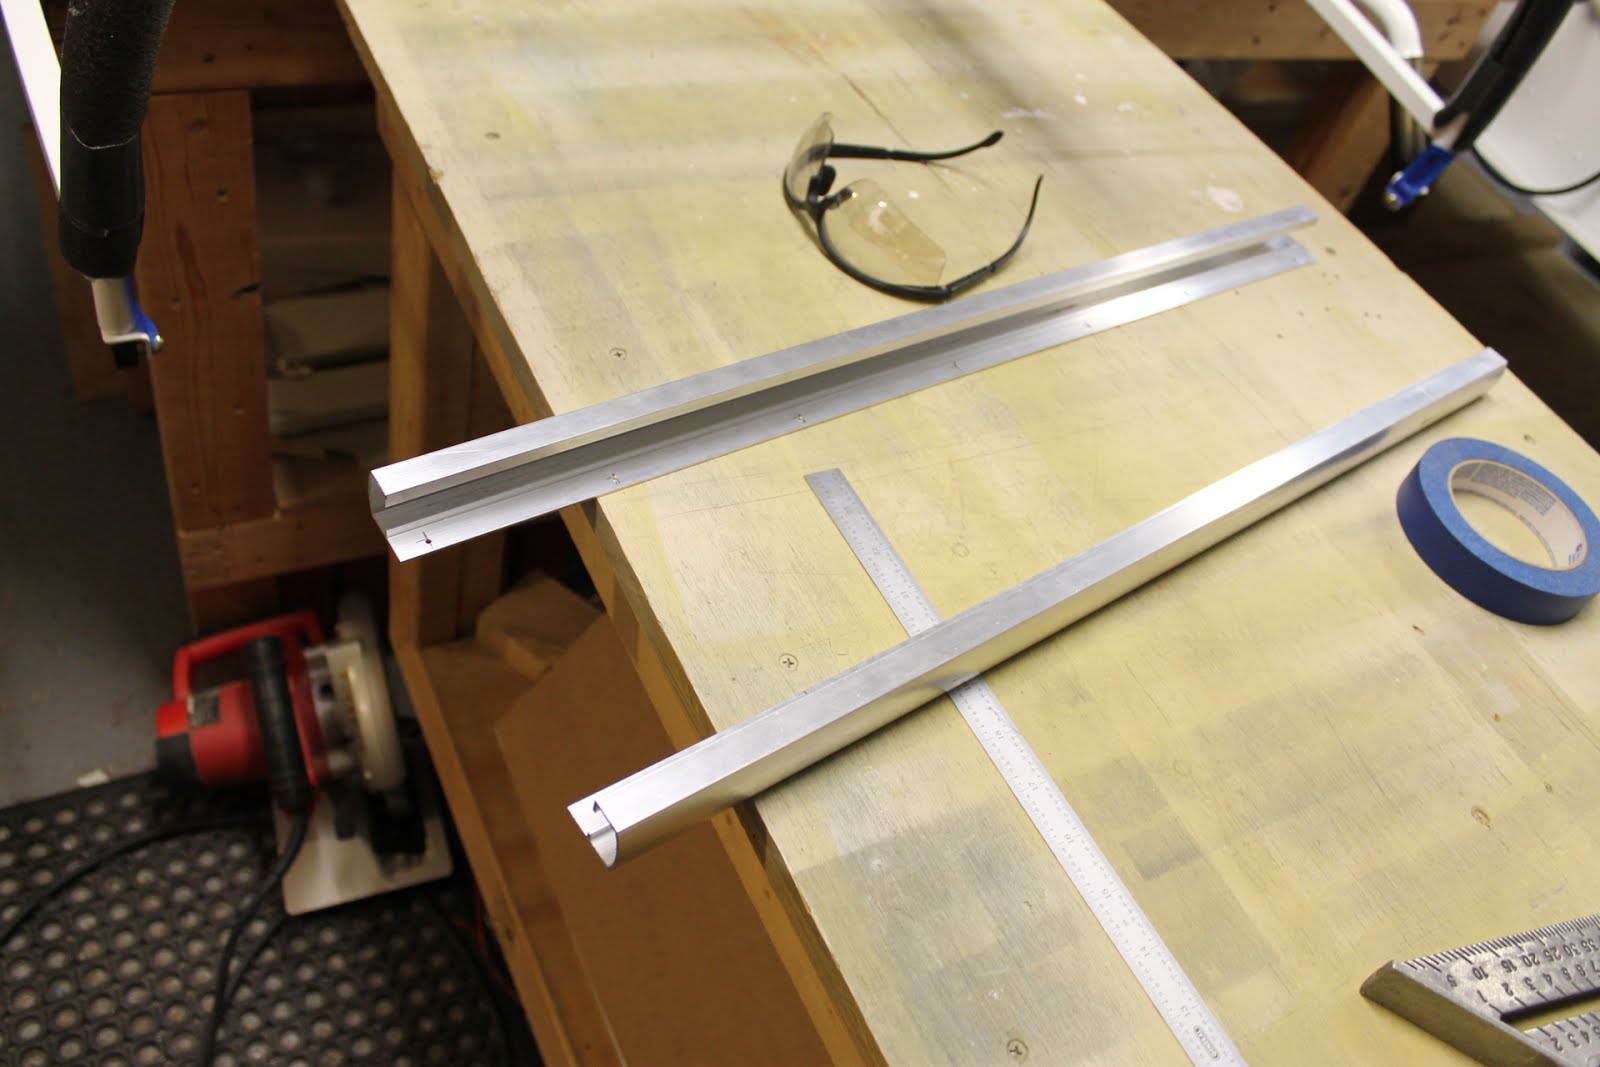
Next I cut the tracks down to size. Simple chop off with the hack saw.


The rear of the slider frame is supported by a plastic material block. The hole through the block and the metal bracket had to be located and drilled freehand. I took a lot of time alternating between the drill press and the 12 inch drill to make this line up perfectly. I wanted to make sure this was straight as this is a piece that could bind and cause the canopy to be hard to open and close.


Next the rear track. Another job for the drill press, vice and many clamps.


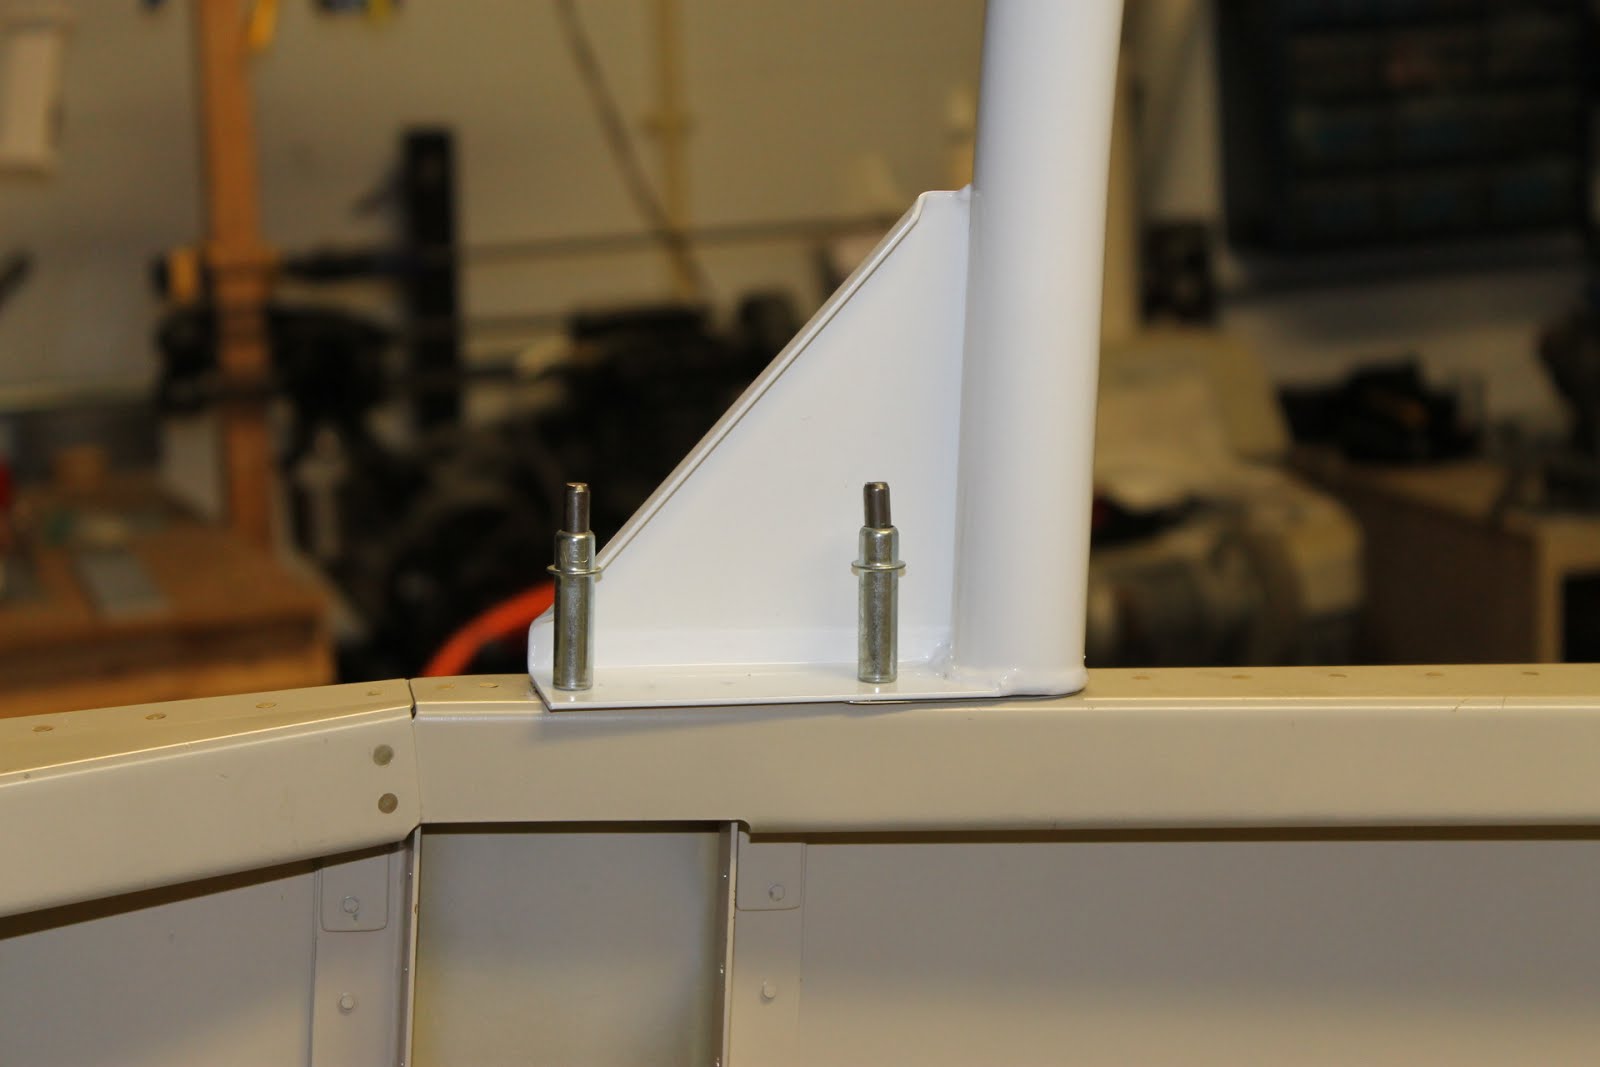
Finished product attached to the plane.


Monday, October 14, 2019

Install Engine Mount

Time to install the engine mount. Test fit with 3/16 bolts.


I have found that the nutplate for the fuel pump is riding against the lower mount. I will need to relocate this nut. After a few hour detour the result below.


This is what is on the back side of that nutplate


Final drill and it looks good


Canopy Roll Bar and support

This next component is the roll bar. In case I decide to land upside-down this roll bar will keep me from getting crushed. I start by fabricating the attachment tabs. These tabs will be installed on the back side of the longerons.


Here is a shot of the Bar while I am deciding which direction it will be installed.


Test fit with 3/32 inch holes. I did have to move the the holes to the rear of the plane because I ended up not having the edge distance on the base of the roll bar when using the holes in the plans location. After some head scratching and careful measuring, I found that the Bar base was shorter then it is supposed to be. Easy fix by relocating the holes. Good reason to test fit with 3/32 holes.


Now install the forward support.


Start of Electrical System

Here is the start of the electrical system. I have assembled the battery box and mounted it. I also have mounted the main relay and the starter solenoid. I think I also forgot to post the day I installed the gascolator.


Saturday, September 21, 2019

Main Wheels / Breaks

Can you believe that is has been over a year since I have posted!!! I have been pretty much out of parts for most of that time as I have completed the fuselage kit. New life now as I have finally ordered and received the Finishing Kit!!! My first task is to put the main gear and wheels on. I a sick of lugging this thing around the garage on sawhorses.

First here is a look at the parts. Wheels and break disks, break calipers tubes and tires and associated odds and ends. I still don't believe it. I don't think the drawn plans are all that clear. It took me almost 9 hours to finally get this right. I must have taken them apart 5 times. The instructions are much more clear after finishing. Funny thing is that I have done this before on an RV-6. Guess memory isn't all that great.